Helle Fabrikker is a company in Holmedal, a small Norwegian town built along a Fjord. Helle knives are not mass produced, in fact each knife is hand made. Each blade is individually hand ground to a skinning sharp edge. Many Helle knives including the Viking use a unique Curly Birch (Betula pendula?) wood for the handles. Each handle made of Curly Birch is unique and truly one of a kind as no two pieces are exactly the same. In Viking times everyone was expected to have and need a knife, even slaves by law were guaranteed the right to keep knives. The Viking is a historically accurate recreation of the common belt knife worn by Scandinavians, including the vikings, nearly 1000 years ago.
This picture is courtesy of http://jorvik-viking-centre.co.uk/about-jorvik/gallery/ and shows some Viking age artifacts discovered near York, England at the Jorvik excavation. The botton knife in the picture looks the most like the Helle Viking.
I am 3/4ths Norwegian with one side coming from Meløy, Norway. It almost feels like reaching for a family heirloom whenever I put this knife on my belt before hitting the field. The difference between Scandinavian knives goes something like this: Swedish people could care less what a knife looks like and don't want to spend too much money on one as long as it is Sharp, so their knives tend to be slightly more bland. Norwegians on the other hand want both a knife that looks good and is extremely sharp and is made and expected to last a couple generations and come out of the box sharper than Swedish knives. The Finnish knives land somewhere between the two looking nicer than the Swedish knives but not being quite as sharp as the Norwegian blades. The other two cannot compare with the triple laminated blade of Helle.
The package as mailed comes with the Sheathed knife, sharp as a razor, a cloth, which I ended up using to wipe the oil off the blade when I sharpen it, and the shipping tube.
The Viking is designed after viking belt knives that have been discovered around Norway. Being of Norse heritage myself, that was one large selling point.
The blade has a grind called a Scandinavian Grind. It has a wide flat bevel that runs to the edge of the blade. The Viking has no secondary bevel. This makes for an extremely easy knife to sharpen on a whetstone. In the instructions Helle pretty much says to never sharpen without oil or water. This is the only knife I own which gets pampered and sharpened on the whetstone, while all of my other knives get sharpened on the Work Sharp Knife Sharpening System. Due to the triple lamination of the blade, I'm pretty sure the heat on the blade would not be good for the knife, and the Scandi grind would also be removed if I used the Work Sharp. Another nice thing about the Scandi grind is that it keeps an edge superbly sharp for a long time.
Triple laminated blades are also something that is unique to Norwegian knives. A high carbon piece of stainless steel is sandwiched between two tough pieces of 18/8 stainless steel. This makes for a blade that takes and keeps an extremely sharp edge and yet isn't so brittle that it shatters. The triple laminated steel is most easily noticed on this side by the faint line almost directly in the middle of the bevel on the blade. The blade is 4 7/16" long and the handle is 4 3/16" long. The overall length comes out to about 8 10/16" long which is about perfect for a working belt knife. Each blade is individually hand ground and you can tell by the fact that the grind is a little bit heavier on one side than the other. This is merely a finicky appearance issue and is not a problem in any way to me. They also leave the blade rough and forge blackened after the forging process creating more of a traditional look. The blade is mostly left plain except for the Helle inscription on the left side of the blade.
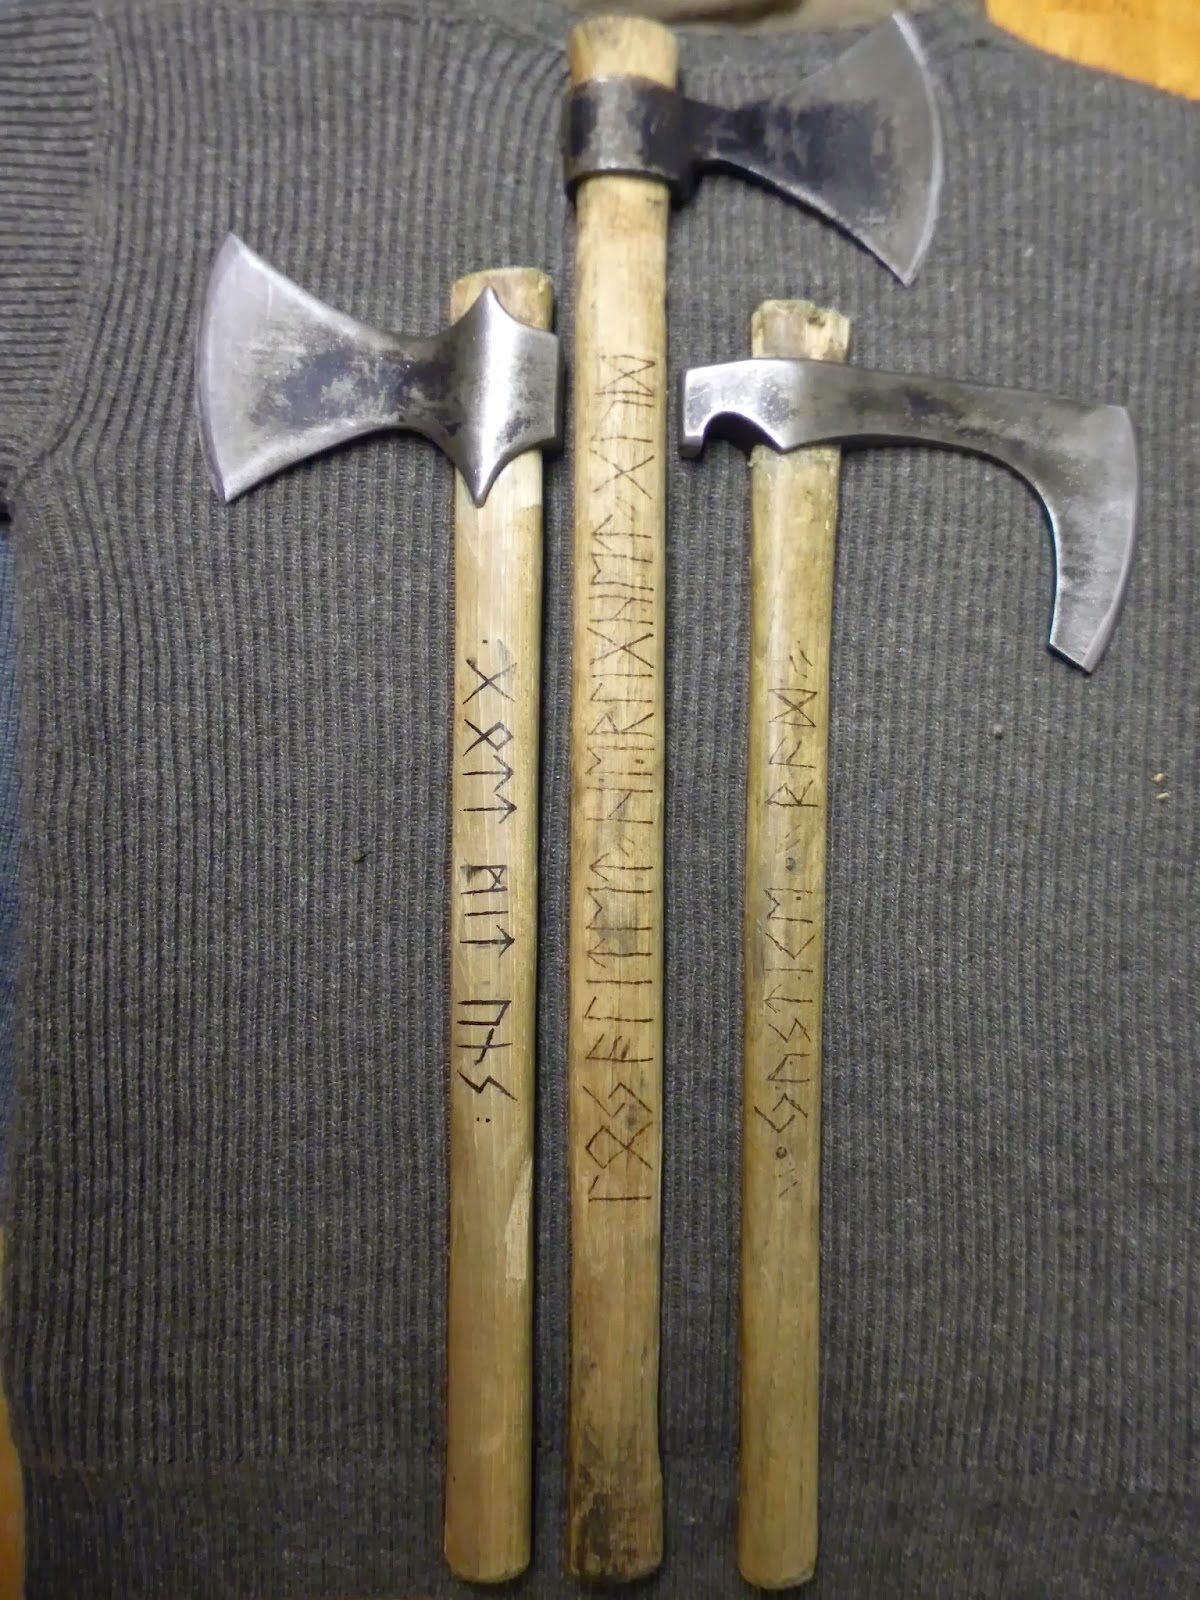
The Helle Viking has a peened-over rat-tail tang. The reason for this is that it gets really, really cold in Norway. Any exposed metal in the winter sucks the warmth from exposed skin upon contact. Having an exposed tang on knives with scales for handles transmits cold directly into the hands of the user. After using a steel framed revolver for late season deer hunting I can tell you from experience how quickly the heat can disappear. Because the knife has a rat tail tang just means that you cannot beat it with a hammer to split logs like the T.V. host Bear does to his knives while jumping down cliffs and breaking his legs. This knife is not an ax or a tomahawk. Neither is it mean to be. The Norsemen had plenty of tomahawks and axes for chopping, they didn't need to use their belt knife to chop down trees and so do I and neither do I. There is also no hand guard on the knife which means no plunging cuts. Instead draw cuts (pulling strokes) are what this knife was built for and this technique has worked for over 1000 years for the Scandinavians. The reason for a lack of hand guards is that in the arctic cold with mittens on, a plunging cut is just asking for an injury. If you own a Rapala fillet knife then you already have used the draw cut.
The grain of the Curly Birch is a pretty sight and the balance is nice on mine, balancing on one finger exactly where the handle starts. The wood fits well in the hand and gives a solid hold due to the slight curve of the wood.
The Vikings blade is rather thick at .146", which is a good thing because it makes it more sturdy, but it will also make it harder to make small fillet-like cuts, but that's what a fisk kniv is for. This is showing the Vikings thickness as compared to the well known Olean, NY KA-BAR. The KA-BAR is .172" at its thickest and is about 2 1/2" longer in the blade.
You can see the similarity of design on these two very Scandinavian knives. The Rapala fisk kniv on the top coming from Finland and the Helle Viking being Norwegian. They both use the usual Scandinavian pouch style sheath which retains the kniv by using the friction of the rough leather against the wooden handle. I've never had one wiggle loose and I've taken them both ice fishing and cross-country skiing along with everyday wear. I use mink oil on all of my leather that doesn't "need" a shine. Pretty much all of my leather holsters and leather sheaths get the mink oil and the leather boots get the polish.If you want to learn more about how Helle makes these knives, more about blacksmithing, the Norwegian triple lamination process, or Scandinavian history in general http://www.ragweedforge.com/scankniv.html is where I got my knife and my tomahawks from.
He ships them fast and also makes both his own knives and his own tomahawks! He knows far more than I do when it comes to knife-lore and has a fun site you all should check out.
Springfield Armory Inc. (not to be confused with the U.S. Government arsenal that was closed in 1968, Springfield Armory which was located in Conn.) is located in Geneseo, Illinois and is well known for its civilian version of the M14, the M1A, and its M1911. In 2002 SA began importing a semi-automatic striker fired polymer framed pistol which they called the XD-9. The name was really the only thing that was new. In Croatia the military and police forces had already been using the same pistol since 1999, they called it the HS2000. After Springfield got their hands on the design, they did something wonderful, they chambered it in .45 ACP (among other cartridges). They now have 6 different barrel lengths and 5 different color finishes, and yes, it comes in black.
The cartridges left to right are: 9mm Kurz (.380 ACP), 9mm Luger (Parabellum), 10mm Kurz (.40 S&W), and furthest on the right is my range practice reload .45ACP using a Lee TL452-230-2R mold to hand cast the round nose tumble-lubed bullet which is pushed by 4 grains of IMR Trail Boss. And the bottom one is my carry round, Hornady TAP FPD 230gn HP.
There are 3 external safeties on the XD if you opt for the thumb safety. It has the Glock trigger safety, the 1911 web safety and an optional ambidextrous manual slide/thumb safety. In order to rack the slide the web safety must be pushed in and the thumb safety must be disengaged. If any 1 of these 3 safeties isn't in the proper position (slide safety off, grip safety pressed in and trigger safety pressed in) the pistol wont fire.
In this picture you can see how the slide safety is off and the grip safety is pressed in in order for the slide to be locked back. Both of which need to be off or depressed in order for the slide to be able to be pulled to the rear.
The pistol has a cocked striker indicator which you can see here
And a loaded chamber indicator (loaded with empty pre-fired brass for safety sake)
And here you can see the cocked striker indicator and the loaded chamber indicator.
The field stripping process is very similar to the S&W M&P Shield without the sear disengage lever. To field strip the pistol you must lock the slide to the rear and rotate the forward field strip lever clockwise and up.
Now return the slide forward and pull the trigger after being absolutely sure the chamber is empty and the pistol is unloaded (you can see that the magazine is removed and the loaded chamber indicator is down, however a thorough visual inspection is still recommended as well).
Here you can also see the empty brass used earlier to illustrate the loaded chamber indicator in the top right corner, safety first!
This pistol has a smaller grip than the Glock 21 SF which is one of the reasons I purchased it. However, in hindsight I must say that the Glock trigger is more crisp on the first pull compared to my XD. The XD fits my hand better than the Glock. Between the two choices I'd rather have a pistol that fits comfortably. The stock grip panels on the XD .45 felt a little slick to my hands so to get a better purchase of the pistol I first tried Hougue rubber grips and have recently switched to Talon grips in the sandpaper variety. I strongly recommend Talon grips. You can also get Talon grips that are rubberized instead of sandpaper. Personally, my hands are pretty well calloused already so I'm not too perturbed by the sandpaper grips. IWB carry with sandpaper grips is slightly annoying at first but after a couple days it feels as normal as my pocket knife in my pocket does. If you want to, you can wear a ribbed A-shirt underneath it all an it stops the rubbing.
Handy for killing snakes, rats, other vermin and winning bets involving balloons and fast draws, pistol shot cartridges can be bought from CCI for a pretty penny. What follows is my search for a cheaper alternative. At the end I show how they shoot. I'm not responsible for any self inflicted injuries brought about by cases of "monkey see, monkey do".
Chamfer the mouth of an UN-PRIMED, UN-POWDERED .44 S&W Special case.
Use the sharp un-primed case to cut out cardboard wads from a phone book cover.
Now, using a sized and primed .44 S&W Special case: I loaded a 50% SAAMI Max powder charge of 2.4 grains for a .44 S&W Special using Hodgdon HP-38 (this load will be shot out of a .44 Rem Mag pistol which is rated for nearly 3X the pressure as the .44 S&W Special). The maximum powder charge for a .44 S&W Special is 6 grains of HP-38.
Pour the powder
Insert cardboard wad over the powder.
Press wad down carefully. I used empty .223 brass.
Pour in LEAD shot. The smaller the better. I'm using #7 1/2 target load lead even though it is being poured from an old spent buckshot shell. #8 would be ideal. While they do make #12 shot I'm not sure if I would recommend shot that small as some snakes have a pretty thick hide. (For a future experiment I might try a couple balls of 000 buckshot as they are .36" in size and my .44 mag is a .430" bore) Fill to just below the case mouth.
Insert another cardboard wad.
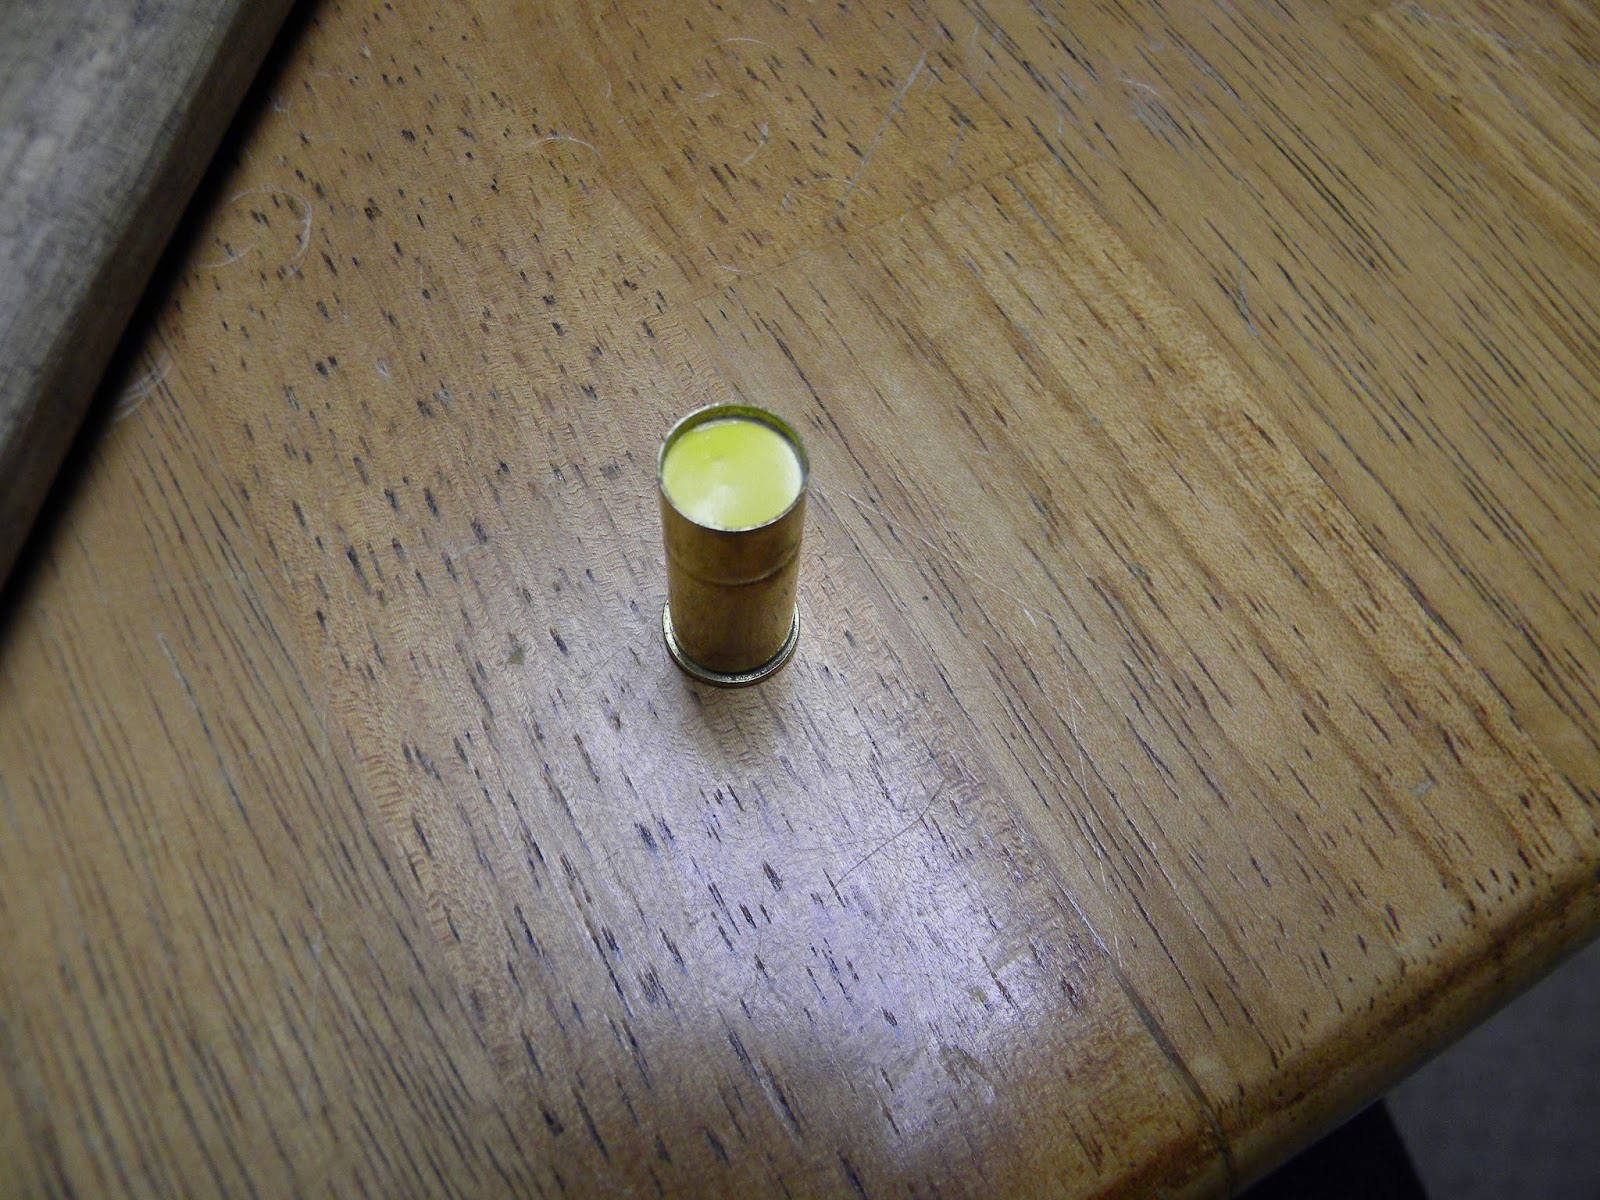
Crimp the case mouth.
*Optional: seal with wax being careful to keep the open flame well away from the case. Done. I assume no liability for stupidity. Don't try this at home.
After running outside to test the load this is what I learned: The load definitely needs more powder; as much of the shot punched through the paper but got stuck in, or bounced off the cardboard. Not too sure if the scaled hide of a venomous snake would be swayed by this velocity yet. Back to the drawing board. But as always, better to have too little powder and be able to work up the load than to have too much powder and too little of hands afterwards, haha
Here you can see how much of the shot actually bounced off and what very little was able to punch through. This load does not attain my seal of approval.
Loaded to 4.8 grains. Now we have what I would call a snake killer. #7 1/2 shot pushing through the paper and through the cardboard.
Backside of the cardboard box. The cartridges loaded with 2.4 grains didn't even get through one side of the box, now with 4.8 grains we're punching through both sides with energy to spare coming out the back. Worthy of snake killing, rat killing and balloon popping? I think so. Moral of the story, it is always better to work up a load than it is to blow up your hands. Be safe and God bless America!
The Ruger SBH is a fun pistol to shoot and own. The .44 Magnum is an extremely versatile round, capable of rat and snake busting when using light loads or shot-cartridges, up to Odocoileus virginianus (whitetail deer) when slinging 240gn jacketed soft points. When you first put your hands on one it feels akin to a strong handshake with an old friend. My smallish hands prevent me from liking certain pistol grips (Glock) but the plough-handle grip of the SBH fits my hands wonderfully.
The 7 1/2" barreled SBH weighs in at 3 pounds, and while the weight is noticeable, it is easily managed and welcome when shooting heavy .44 Mag loads.
Being a single action revolver, for it to fire one must first cock the hammer. This feature makes it a wonderful style of pistol (single action revolver) for someone just being introduced into the world of pistols. Although if you use the SBH to introduce someone to pistols I would strongly recommend using .44 S&W Specials (4.5lbs of felt recoil) instead of full power .44 Magnum rounds (up to 22.6 lbs of felt recoil http://www.chuckhawks.com/handgun_recoil_table.htm). After all, there is nothing like a barrel smack to the face to deter someone from the shooting sports for the rest of their lives. There are no safeties to worry about, if the hammer is not cocked it will not fire (While still being sure to abide by the 3 rules of gun safety http://training.nra.org/nra-gun-safety-rules.aspx).
The Ruger New Model SBH uses a transfer bar system instead of having the firing pin directly affixed to the hammer like an old SAA Colt. Because the firing pin doesn't rest on a chamber when the hammer is down there is no half-cock position for the hammer.
Instead, to turn the cylinder, you must open the loading gate which unlocks the cylinder. It's a revolver so you don't have to worry about making loads too light when reloading for it as there is no action to cycle, as long as they are not so light as to induce squib loads.
If the trigger is released while lowering the hammer the transfer bar slides down so that the hammer cannot contact the firing pin.
This allows owners to carry 6 in the cylinder without having to worry about the hammer being bumped and setting a round off into the owners leg or foot.